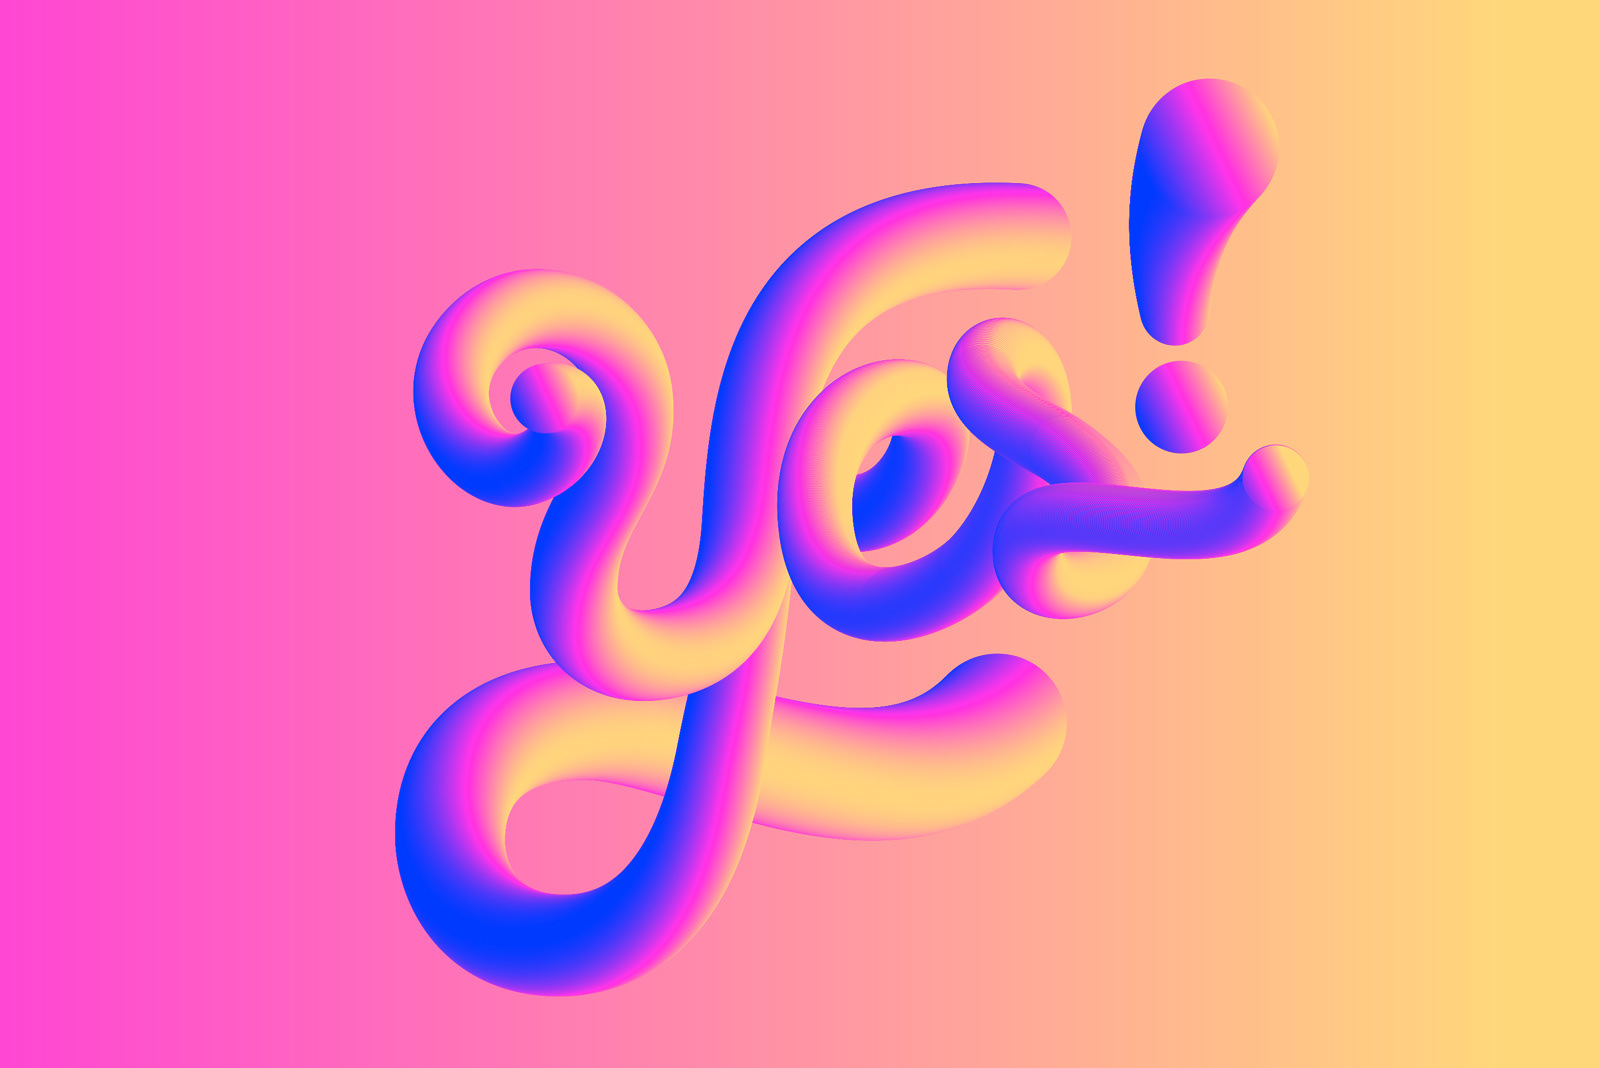
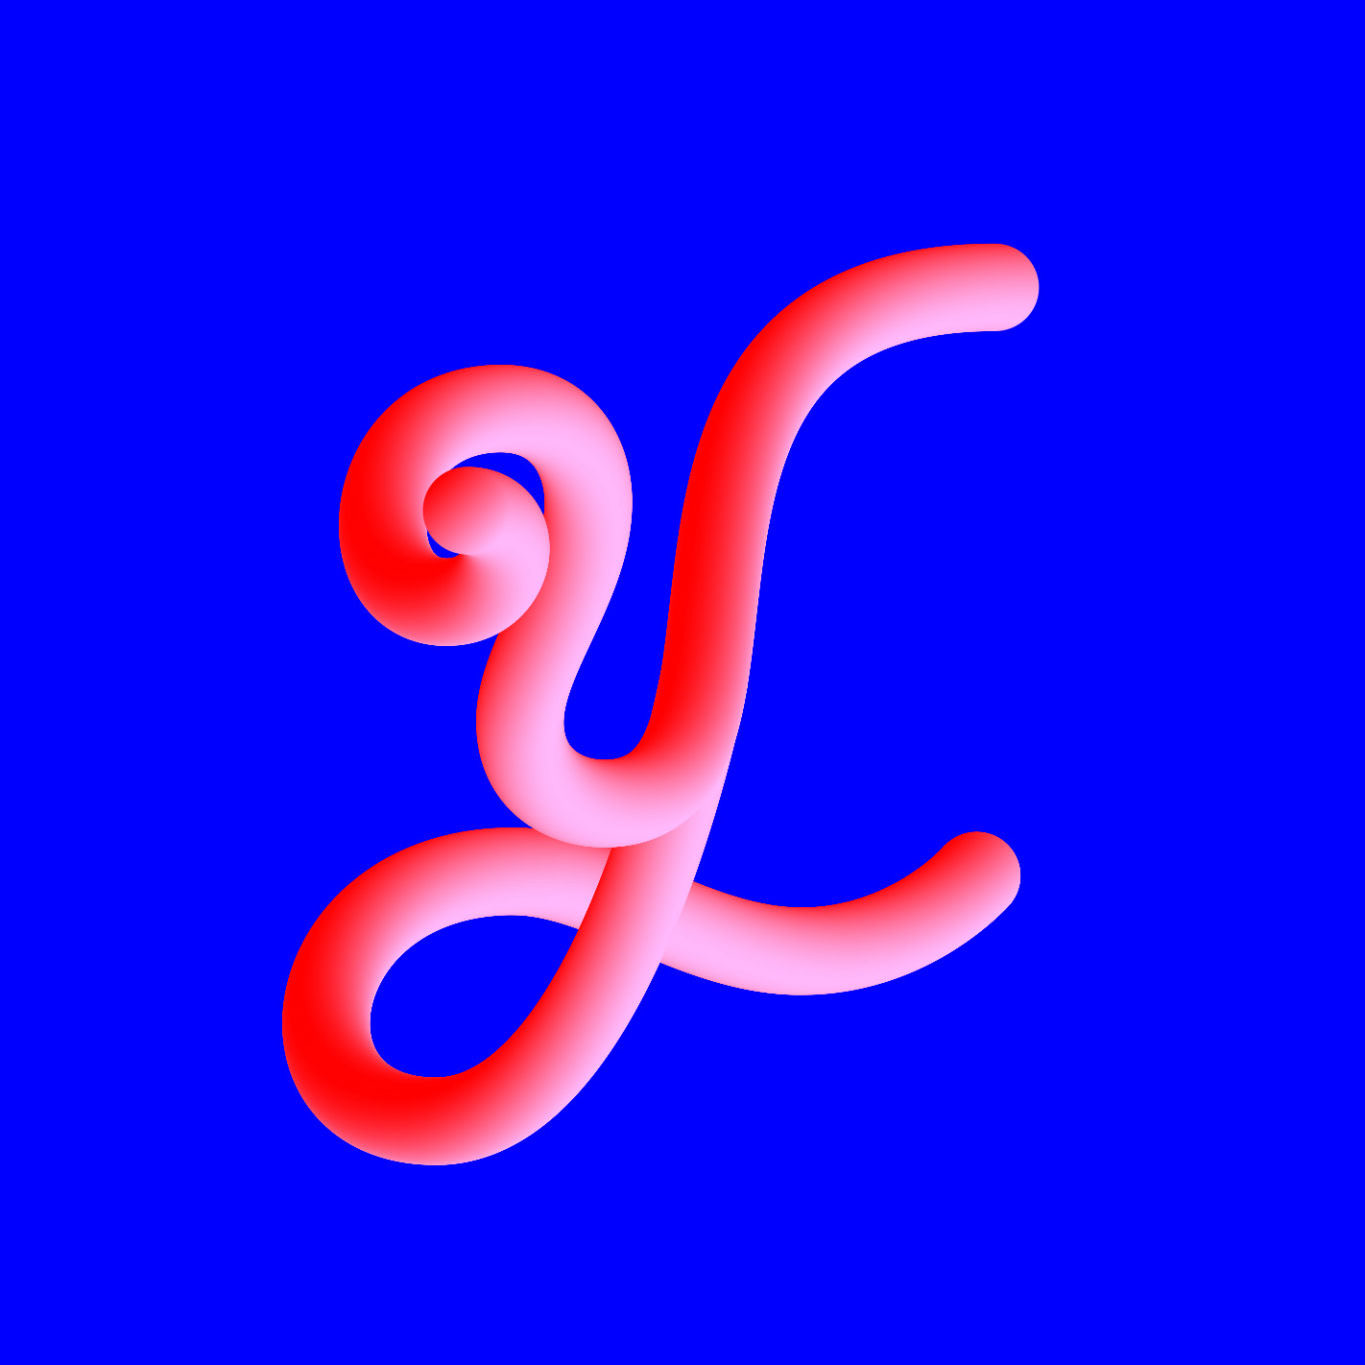
Yes! 3D blend lettering
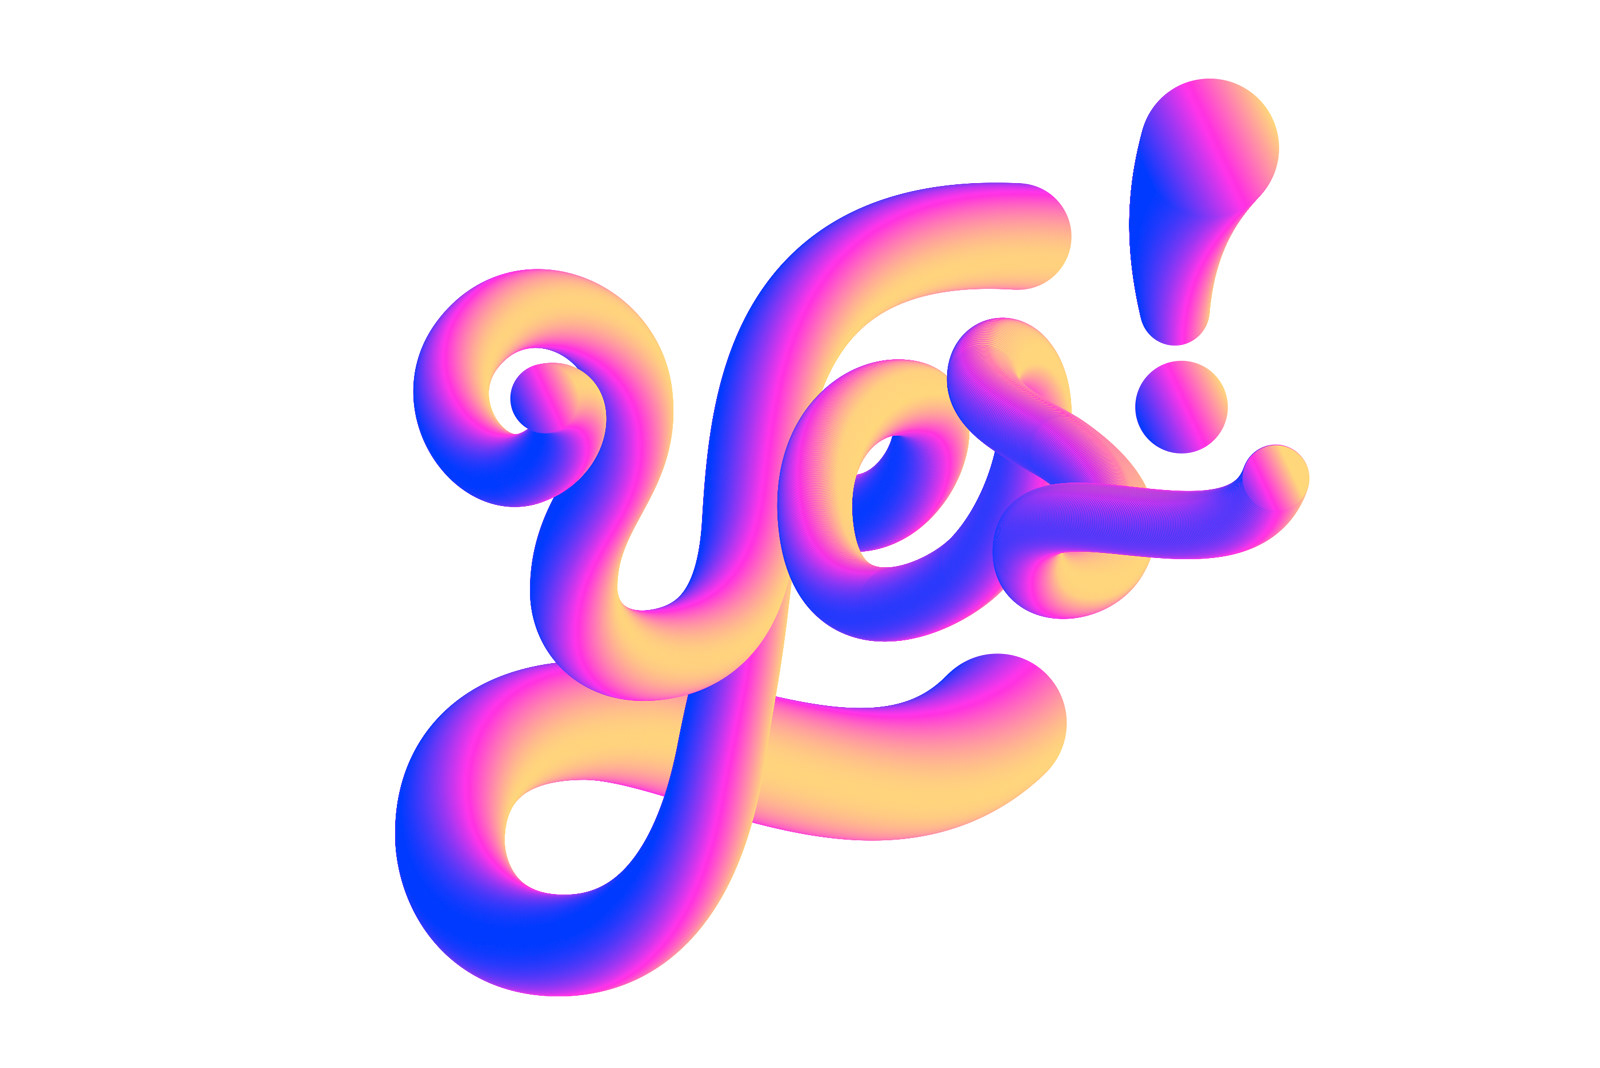
After 2 long years trying (and failing) to change the name of my company page to ''Nomad Unicorn', facebook said yes! To celebrate it I tried for the first time to create a 3D lettering using the blend tool in Adobe Illustrator. I was inspired by @adobe's tweet showing the process in just 1 minute tutorial. Since I'm a 2D graphic designer, I've always thought that this type of work was made with a 3D software and that it was somehow a complicated thing to do.
To my surprise, it only takes a few clicks (literally!), using the same old tools (blend), but in a way I've never used it before. Love learning new skills and to re-learn using the same old tools in many different and cool ways!
Have you tried it? If not yet and want to have fun creating your own fat letters too, click on the link to the tutorial (it's on Adobe CC's YouTube channel), or keep scrolling down for a step by step tutorial by me :)
—
Client: Personal Project
Year: 2020
Client: Personal Project
Year: 2020
Process
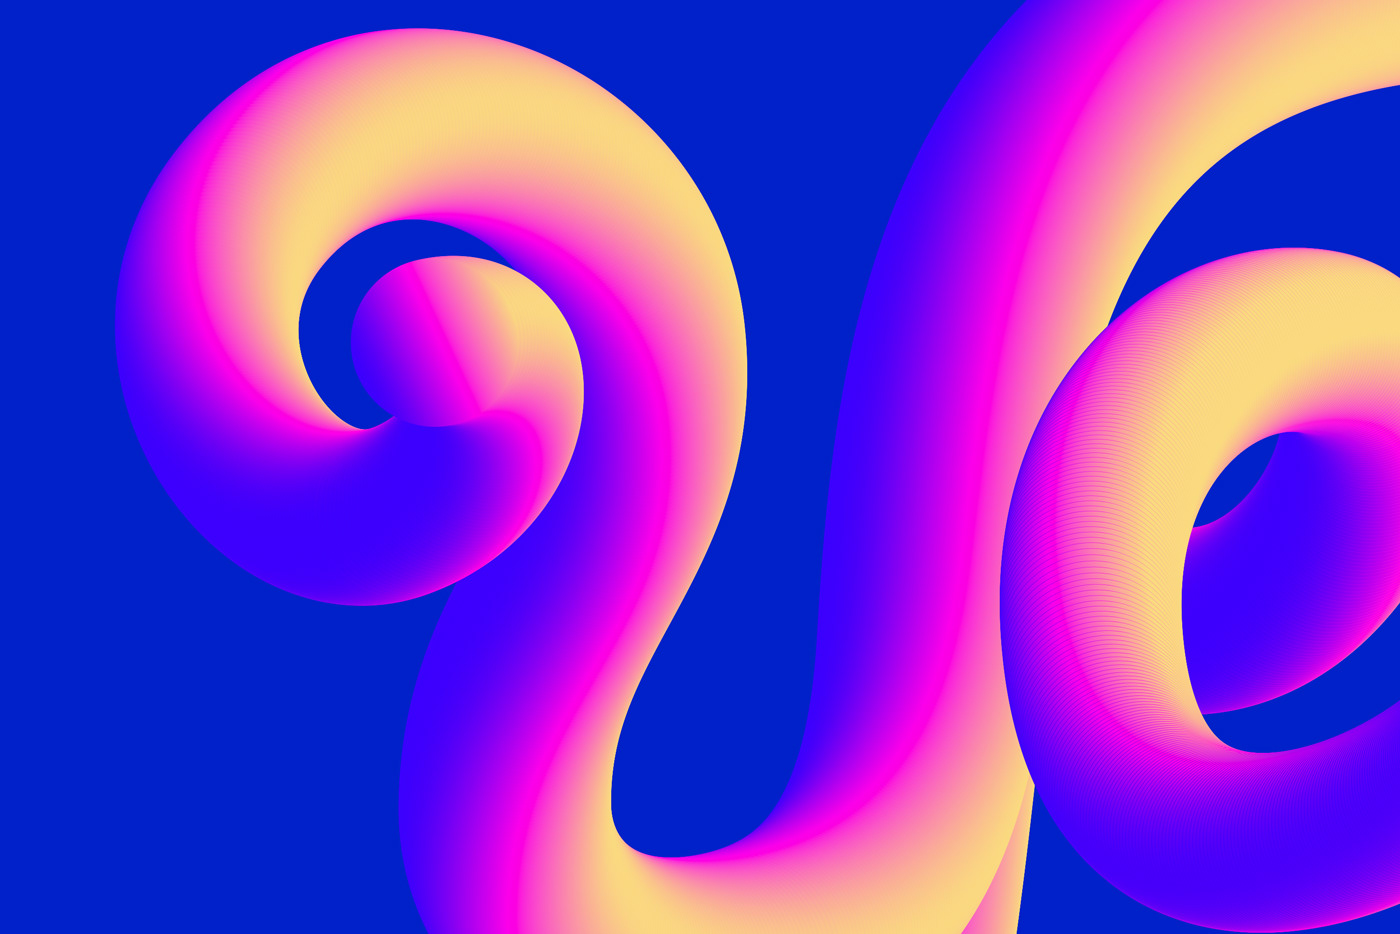
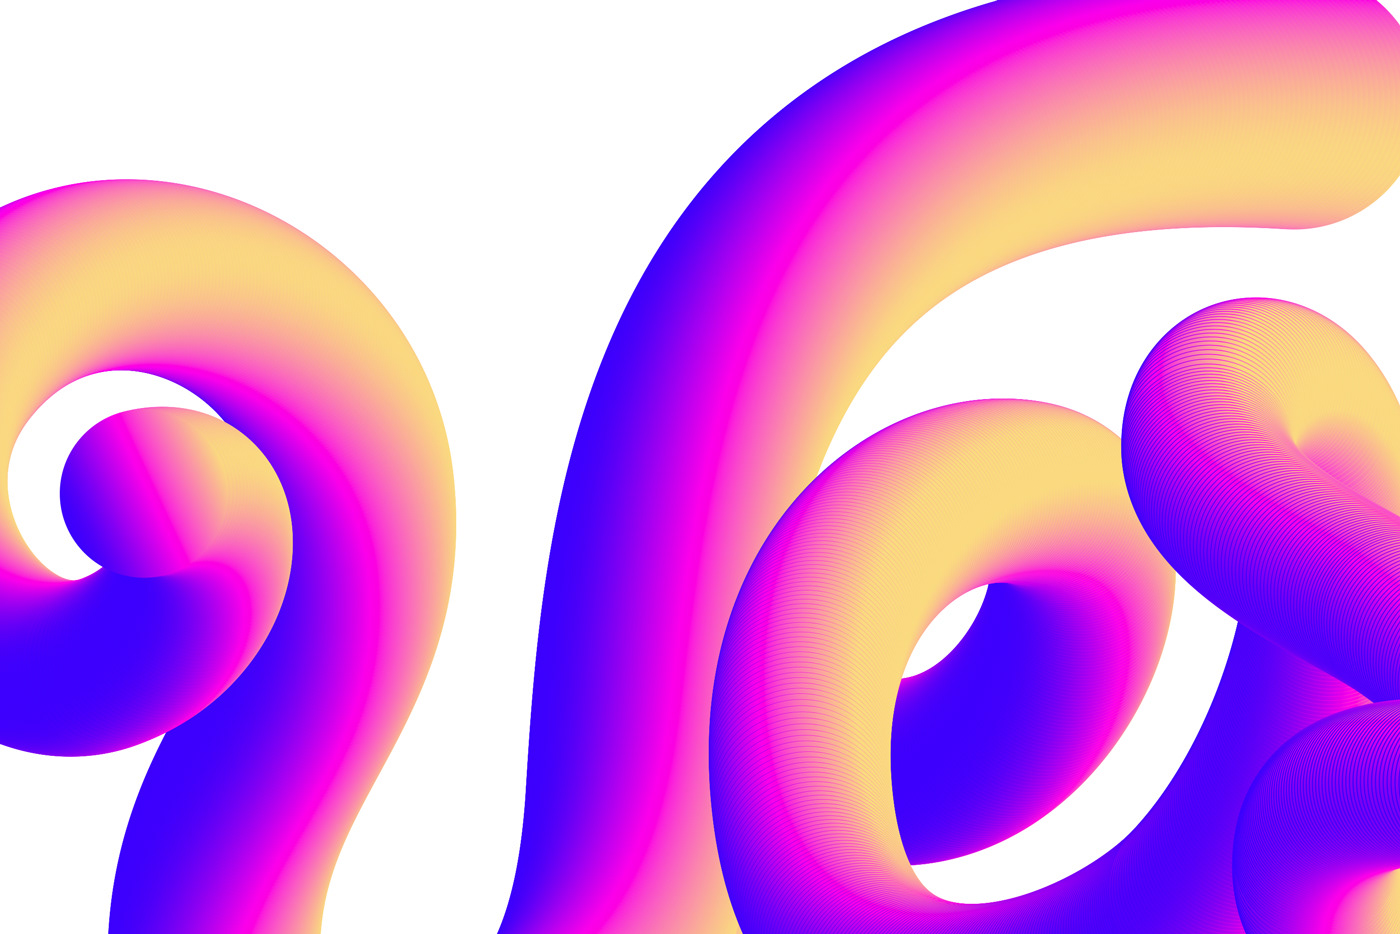
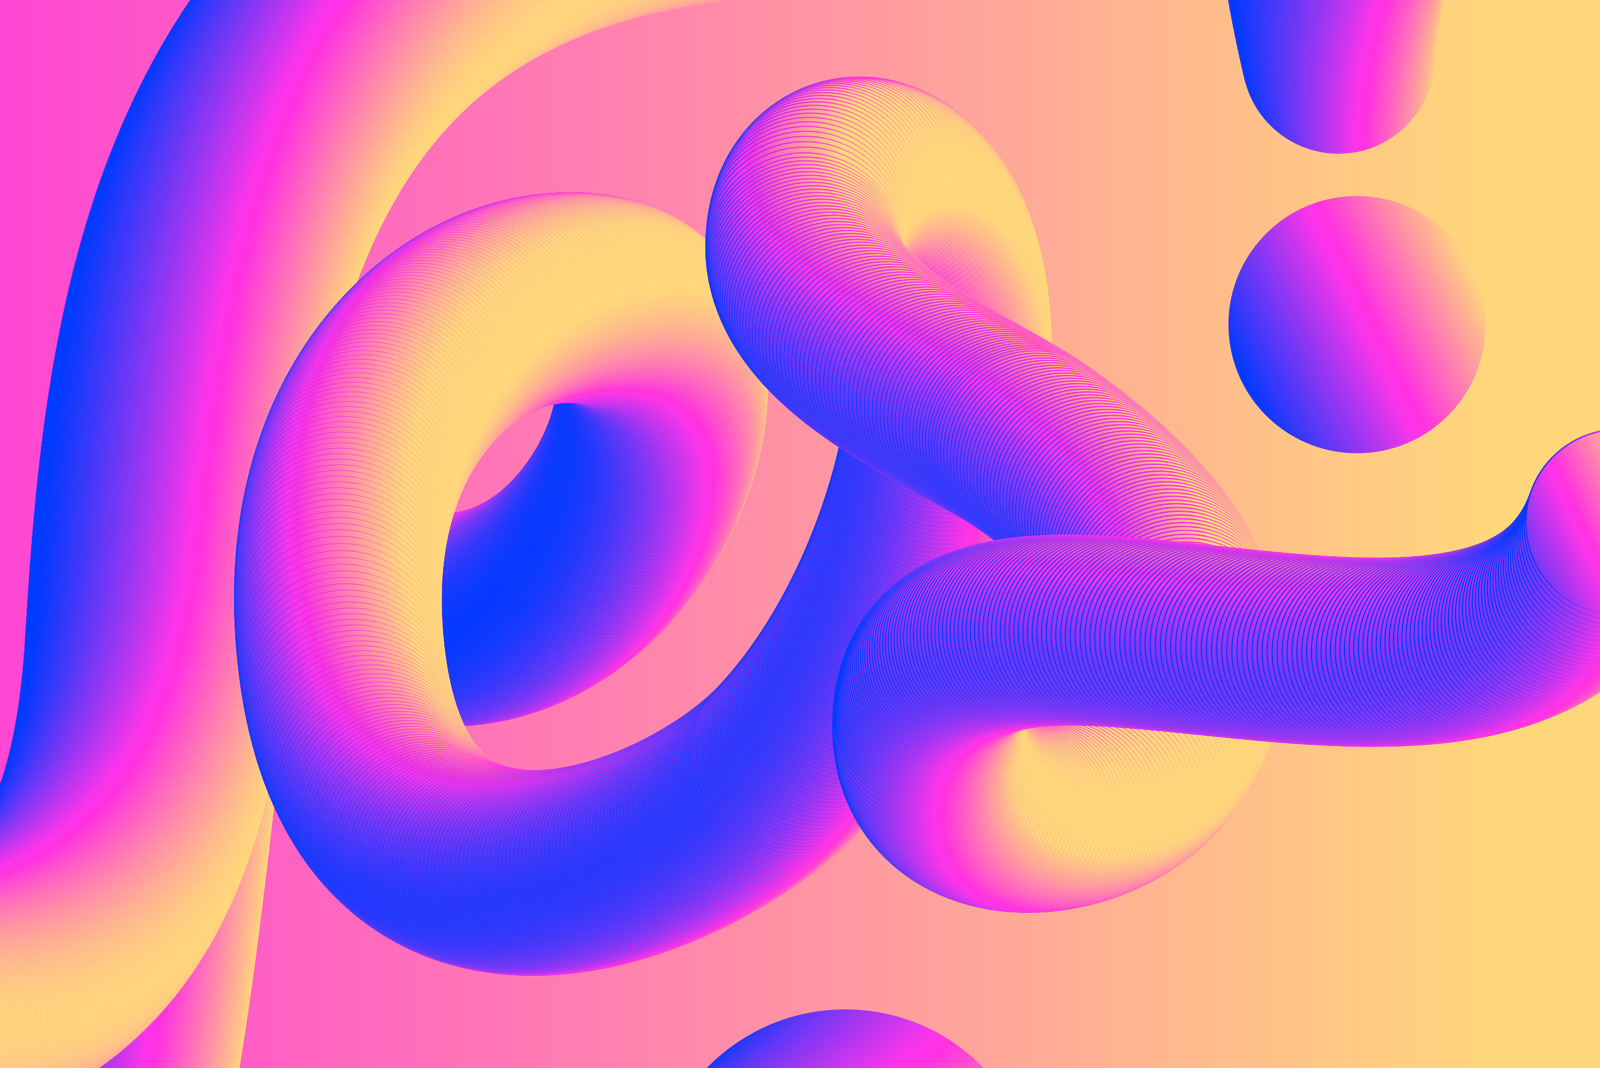
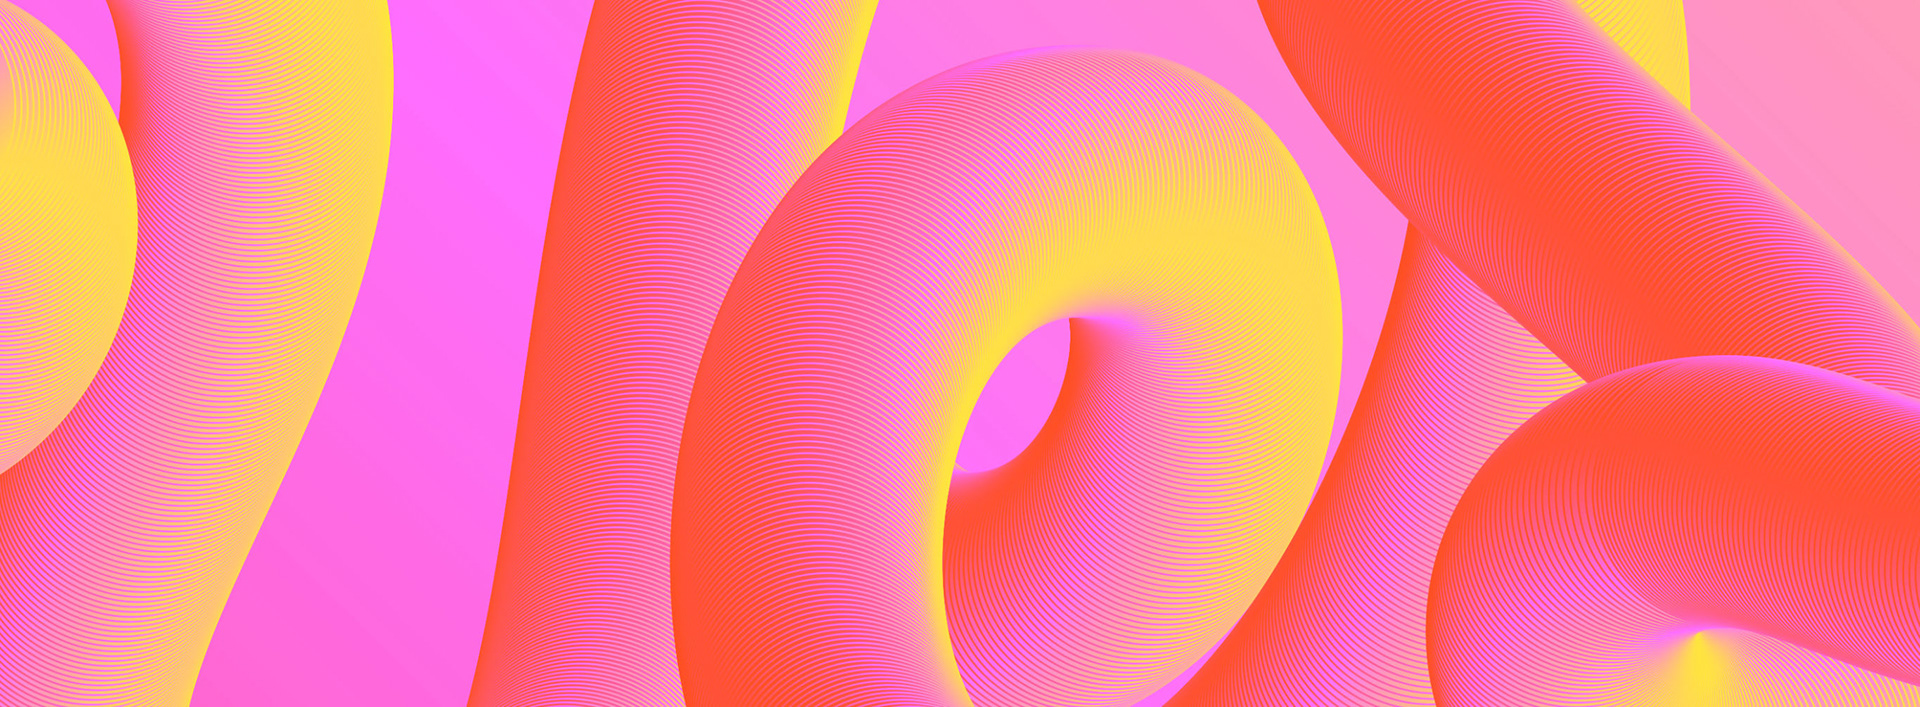
Before I was happy with the final result I played a bit around with the features to explore different outcomes. Below these lines you will see different type treatment tests I did experimenting with colours, stroke paths, etc. I especially love the details where you can actually see the blending lines when adding a colour stroke or using lesser blending steps.

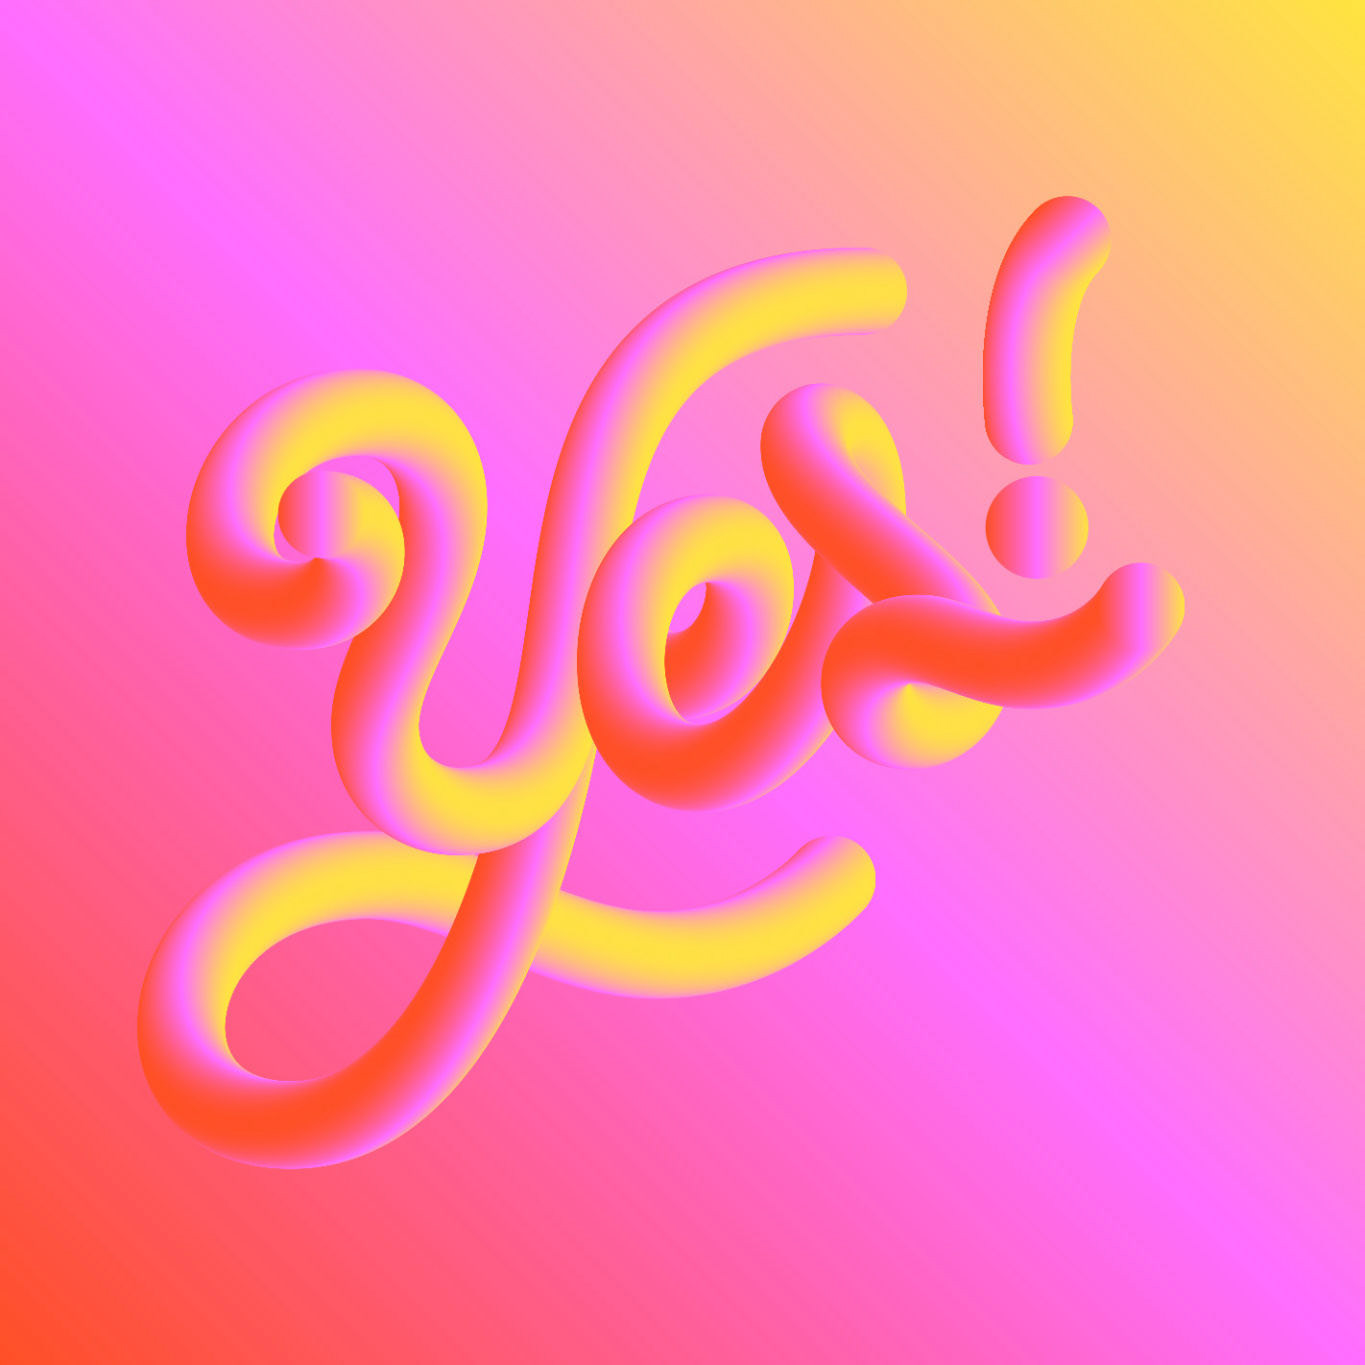
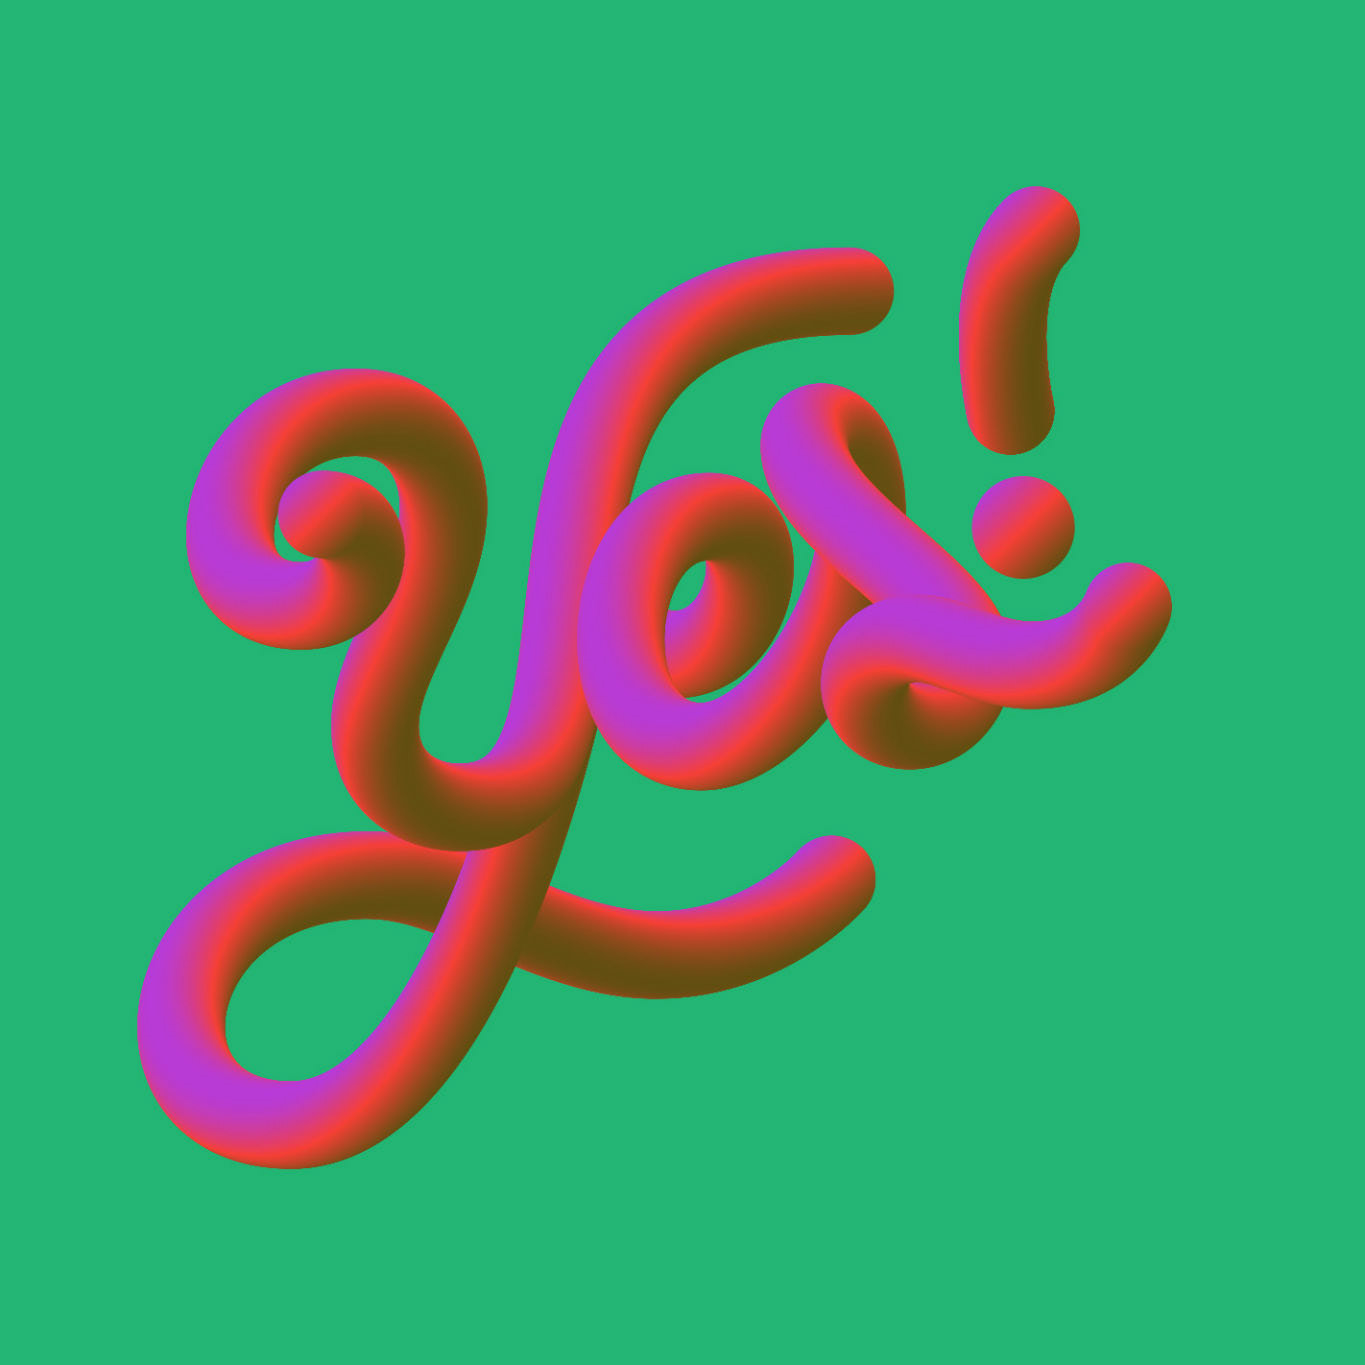
Mixing 3 colour gradient circles in equal sizes.
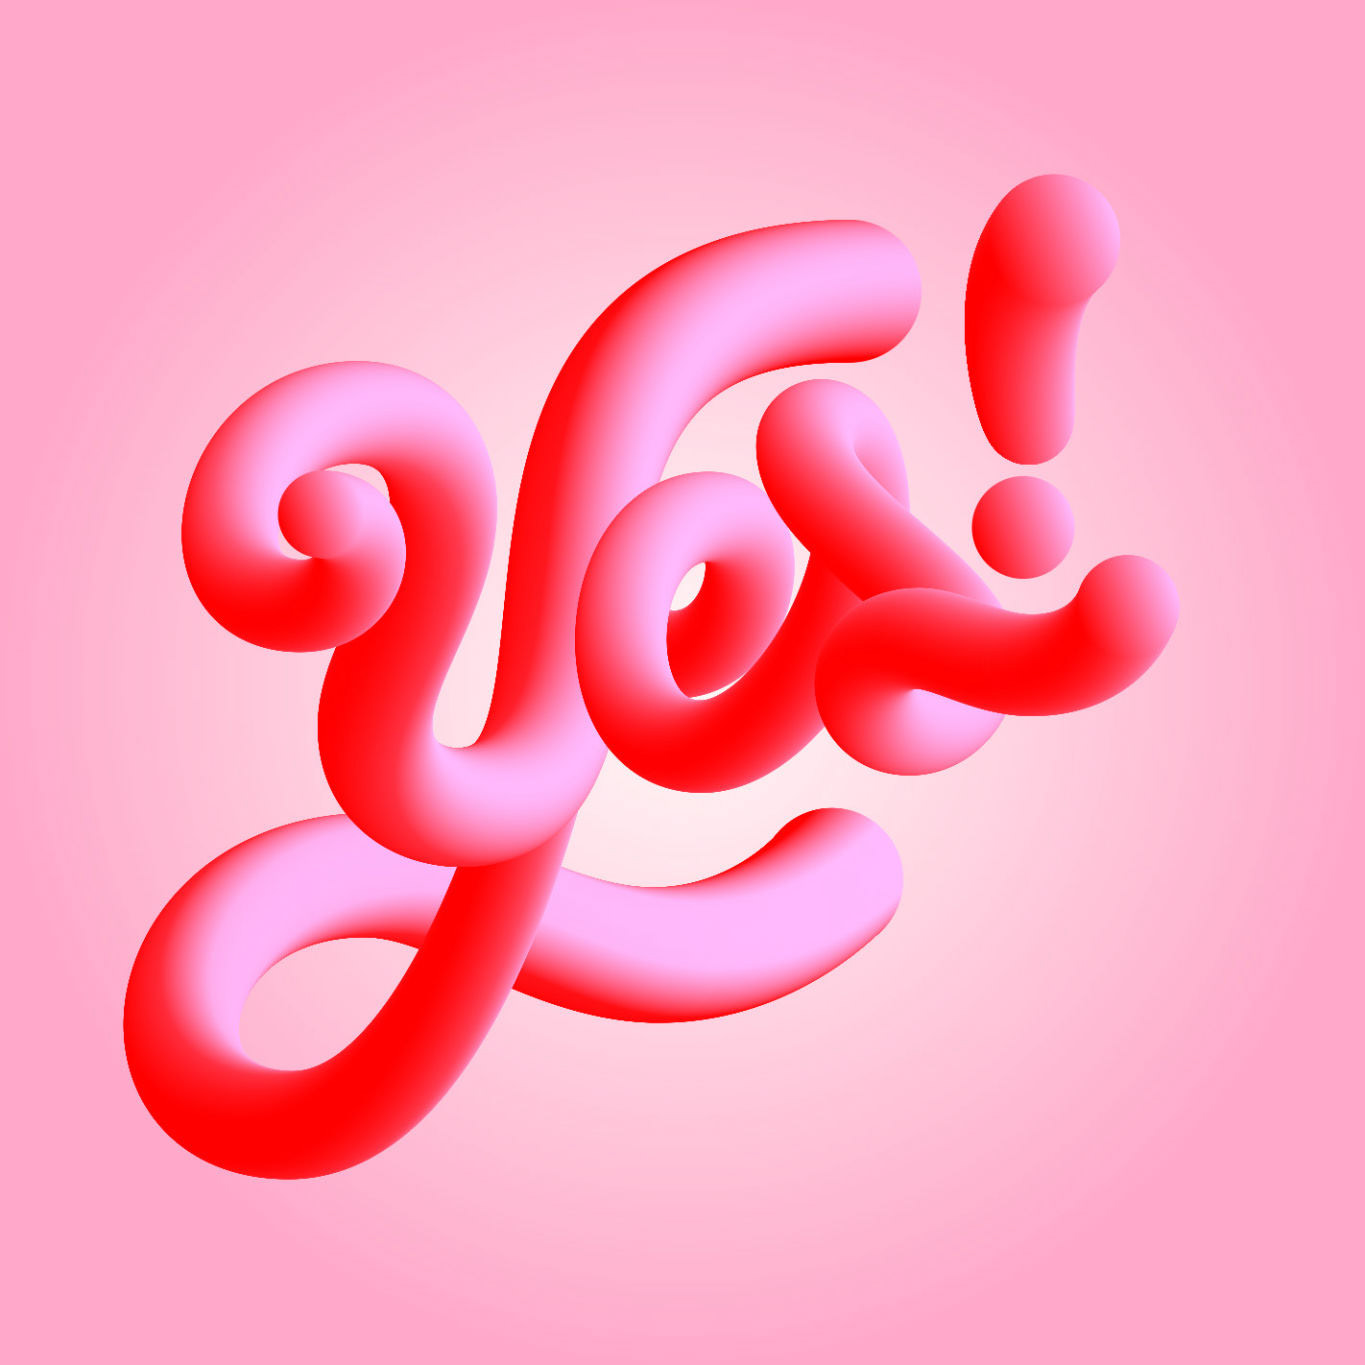
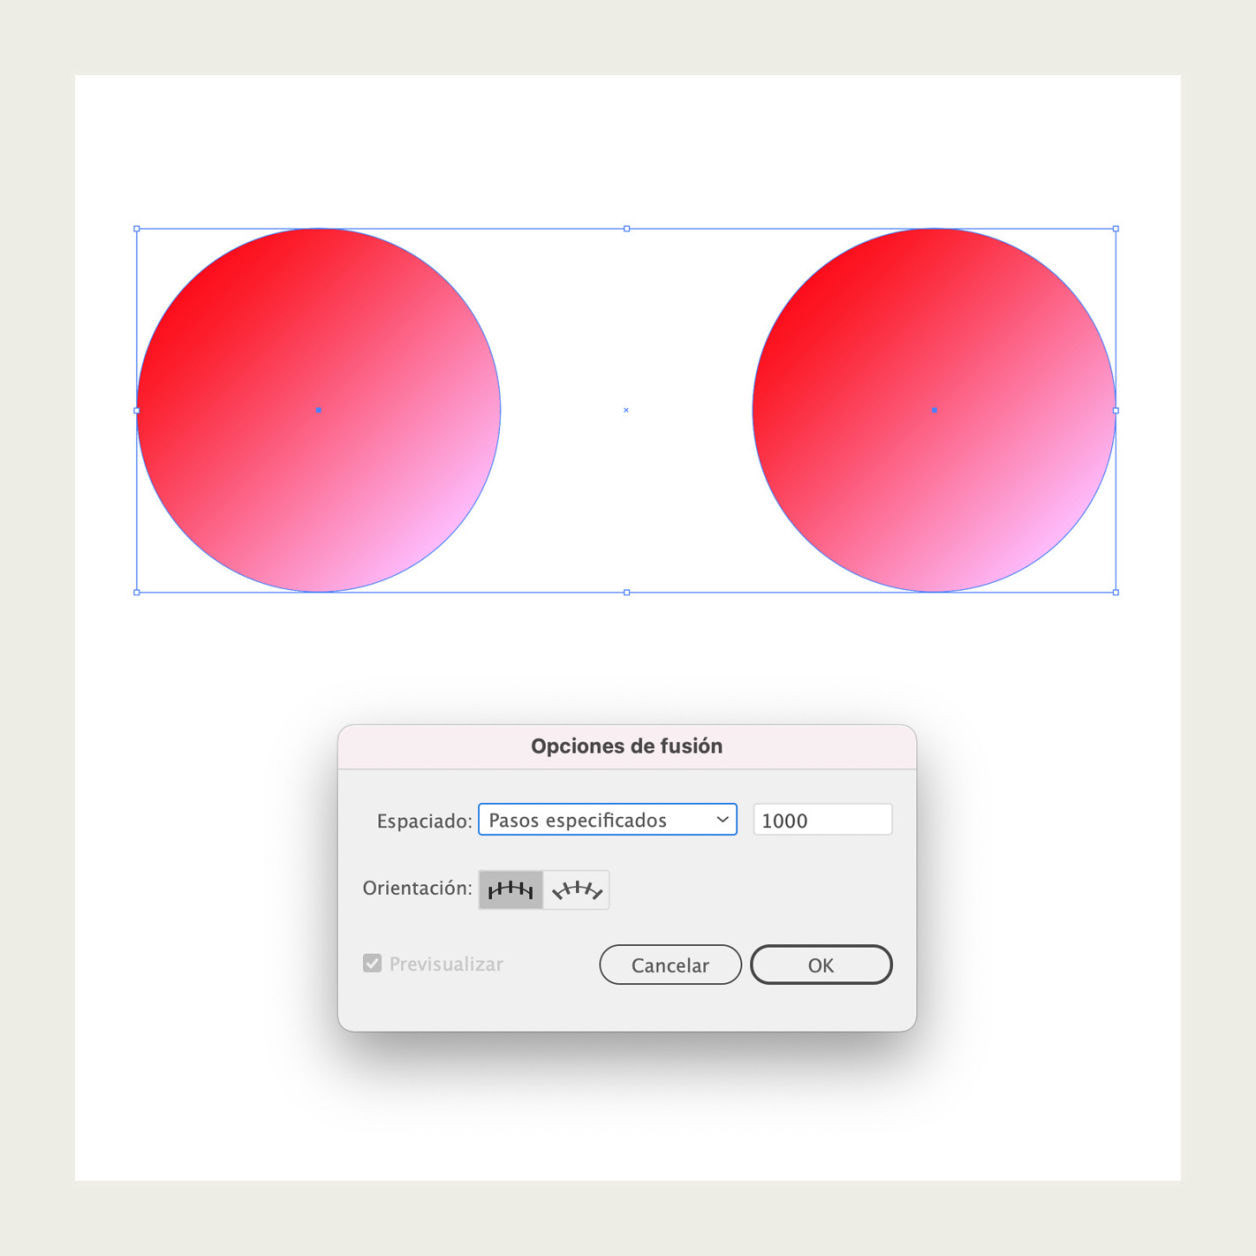
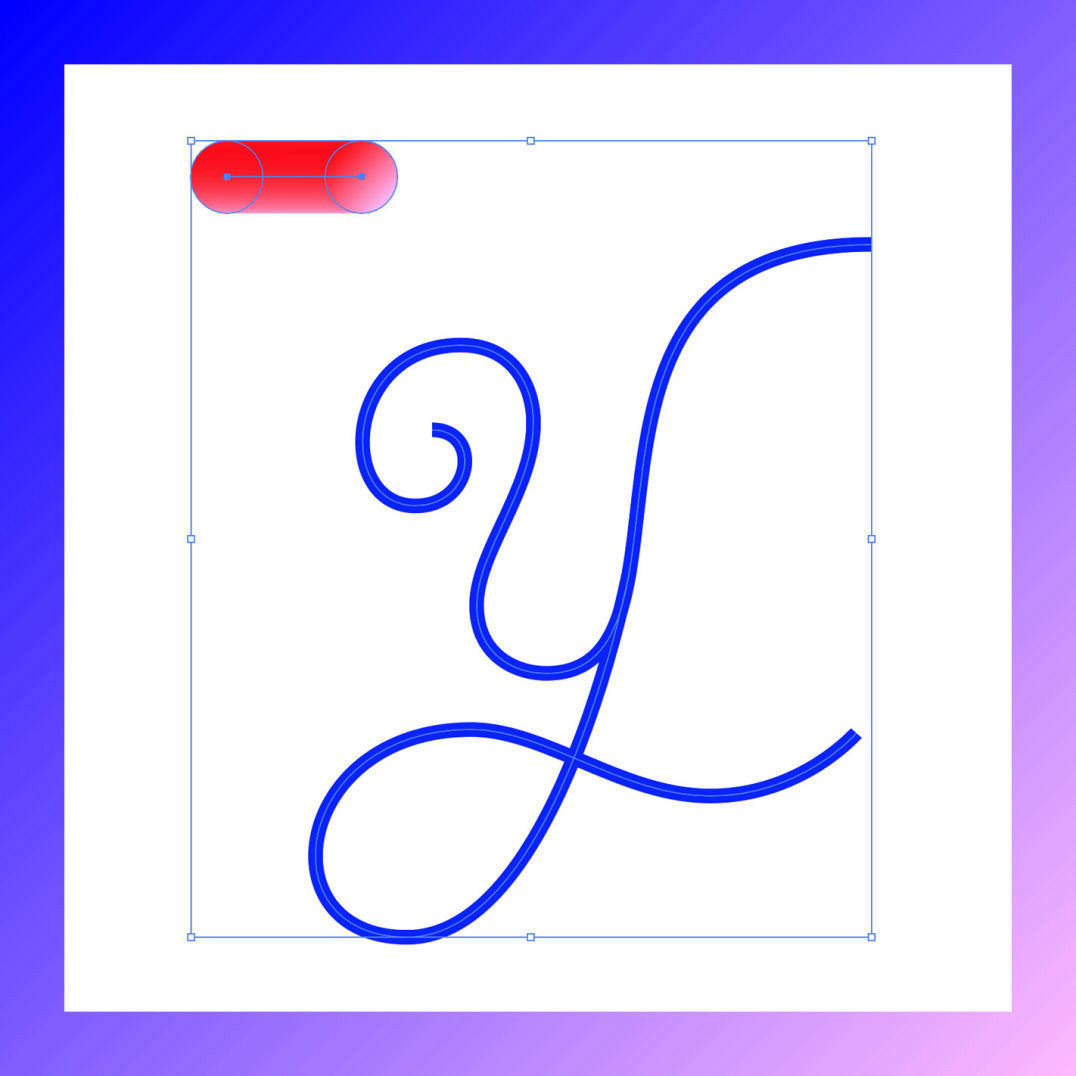
Mixing 2 colour gradient circles in different sizes.
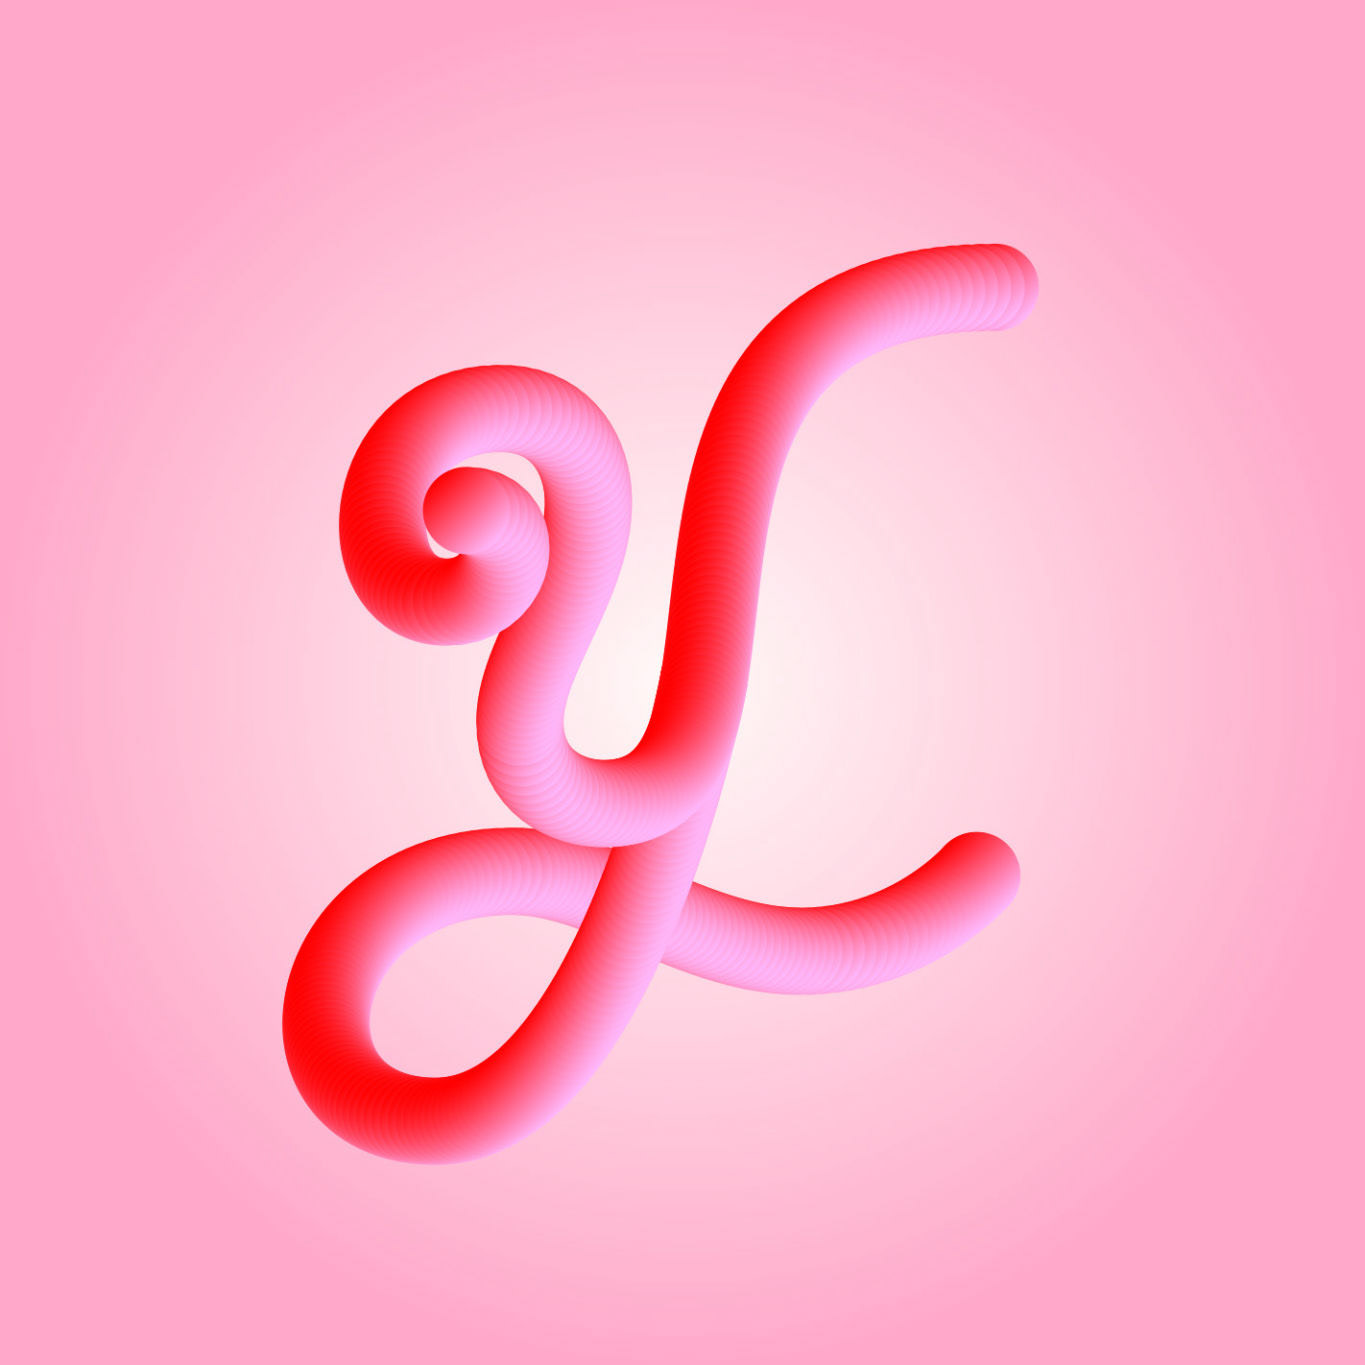
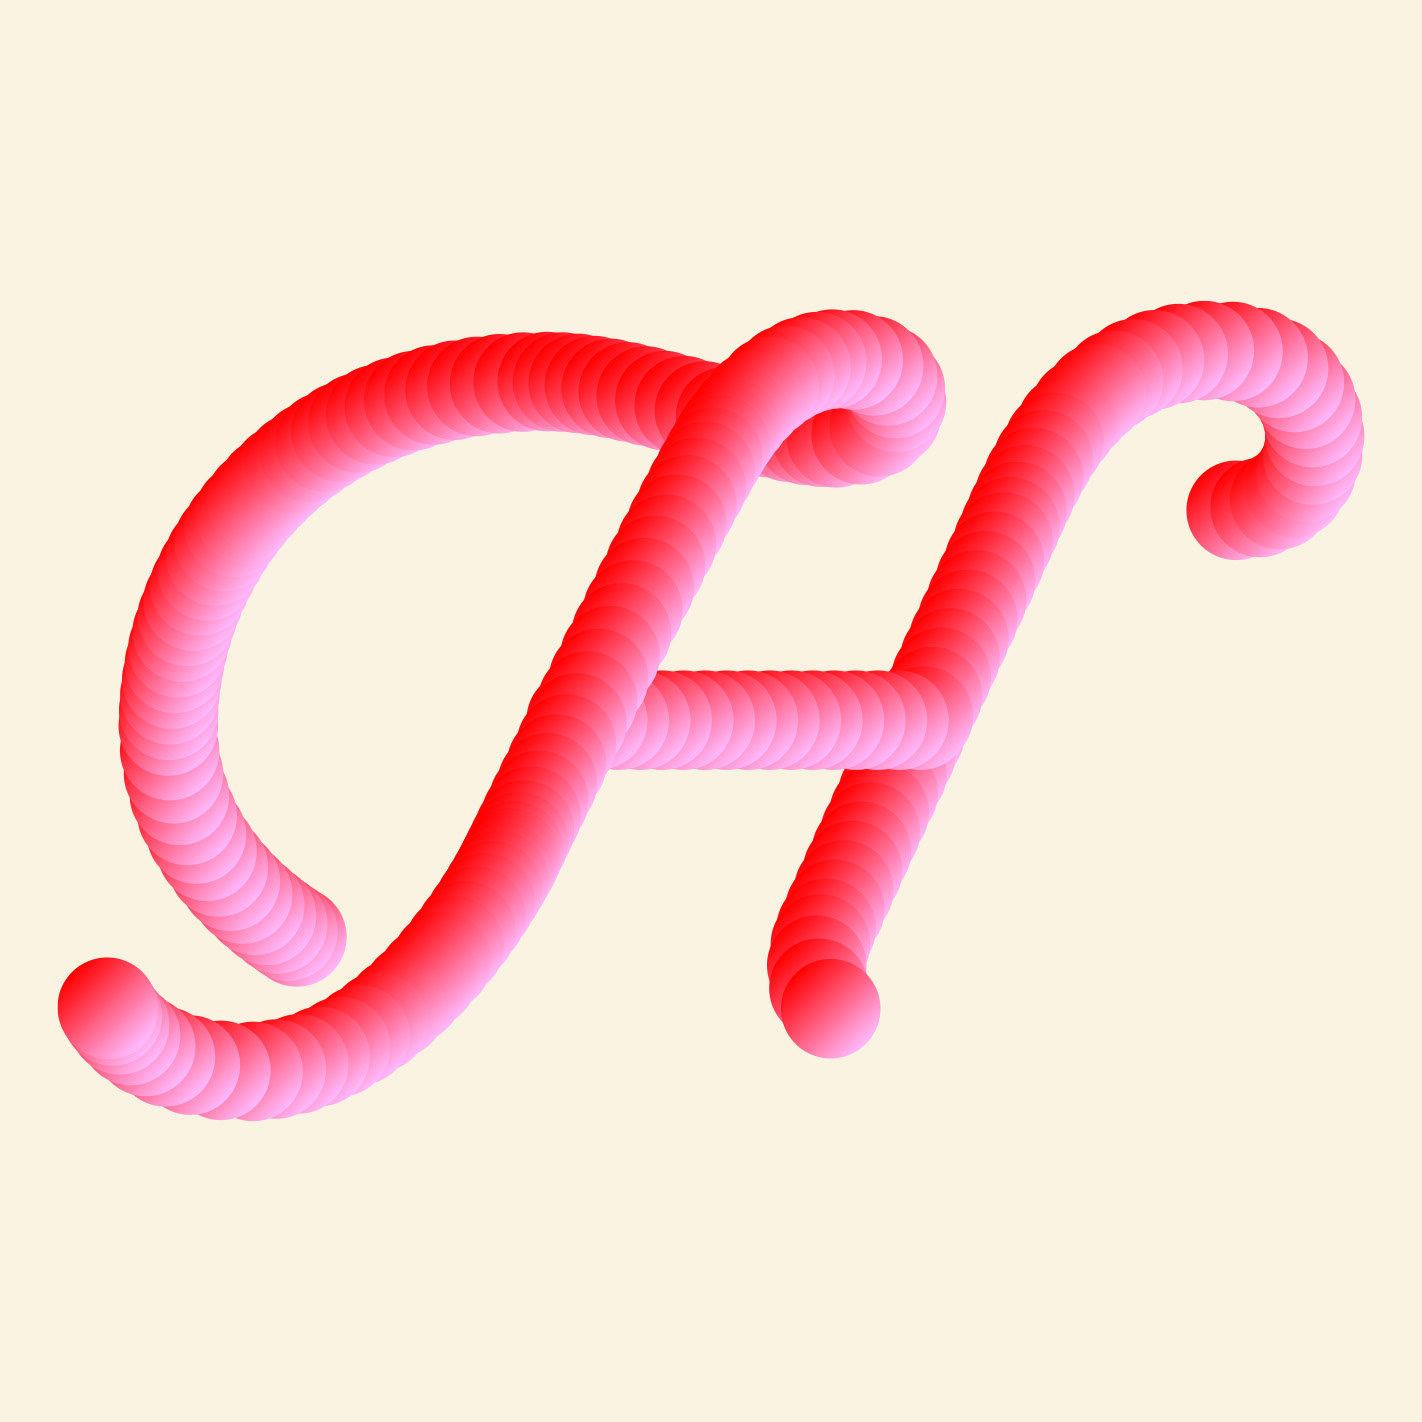
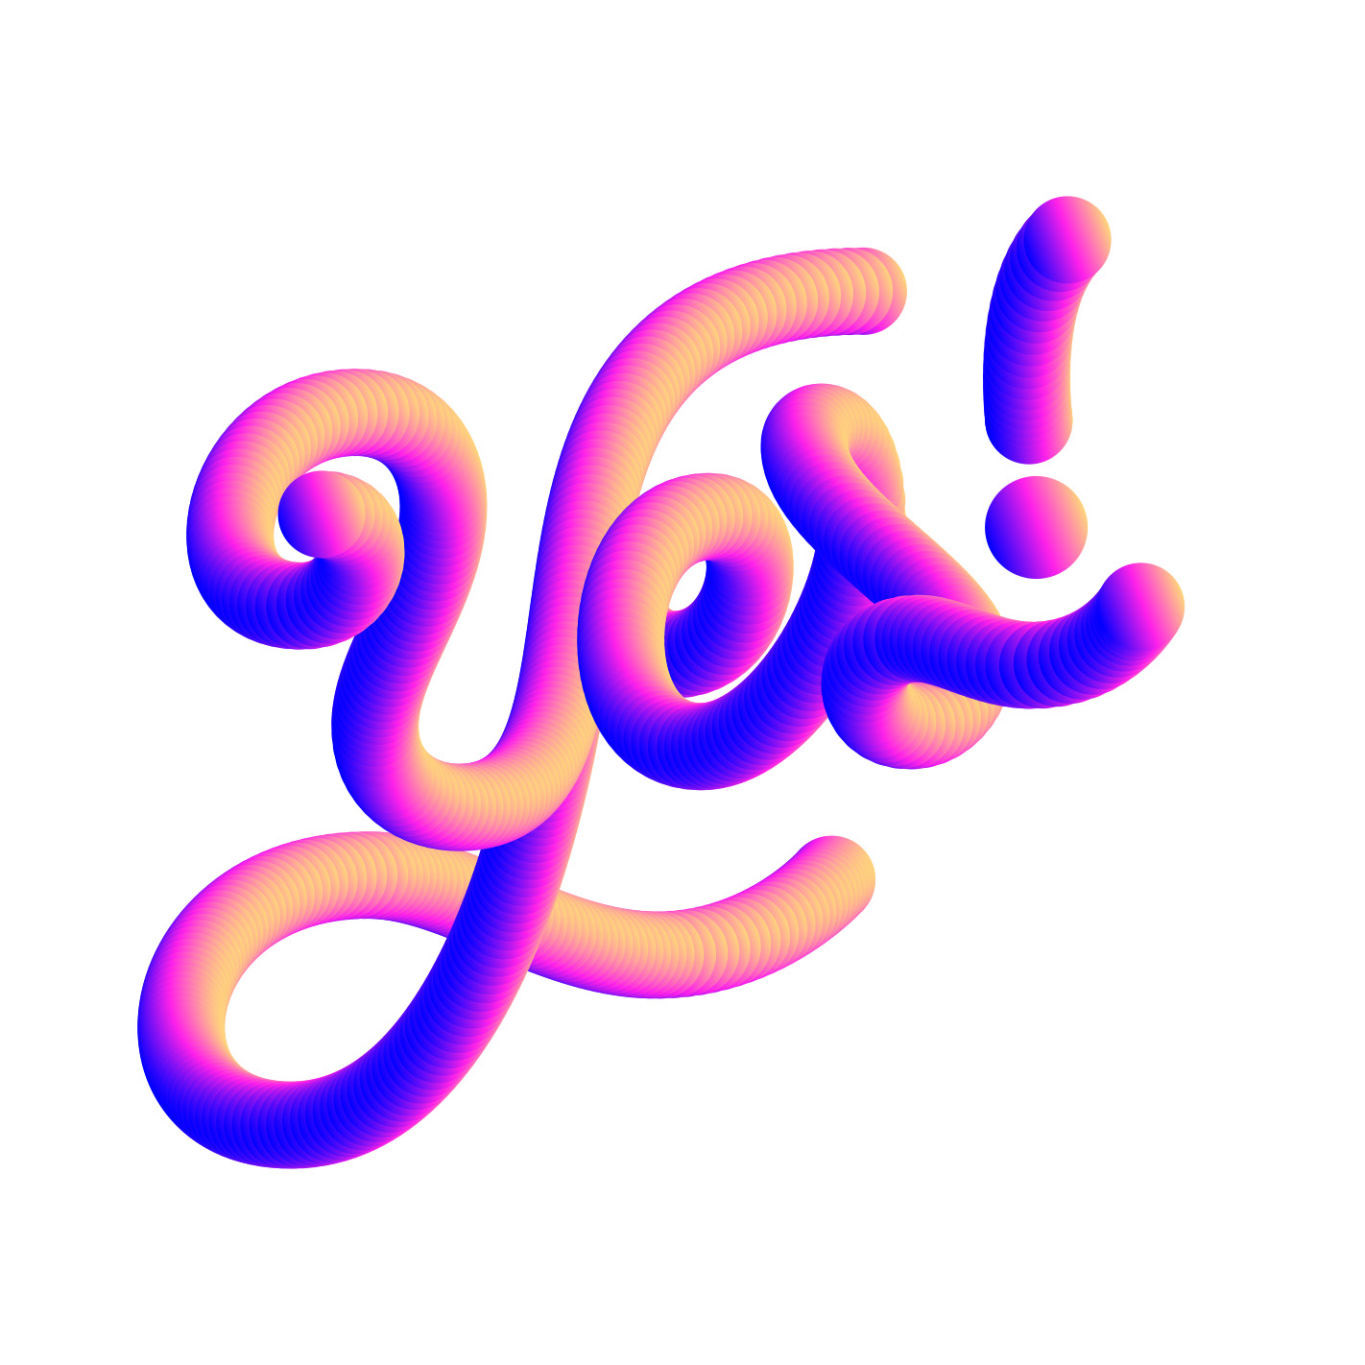
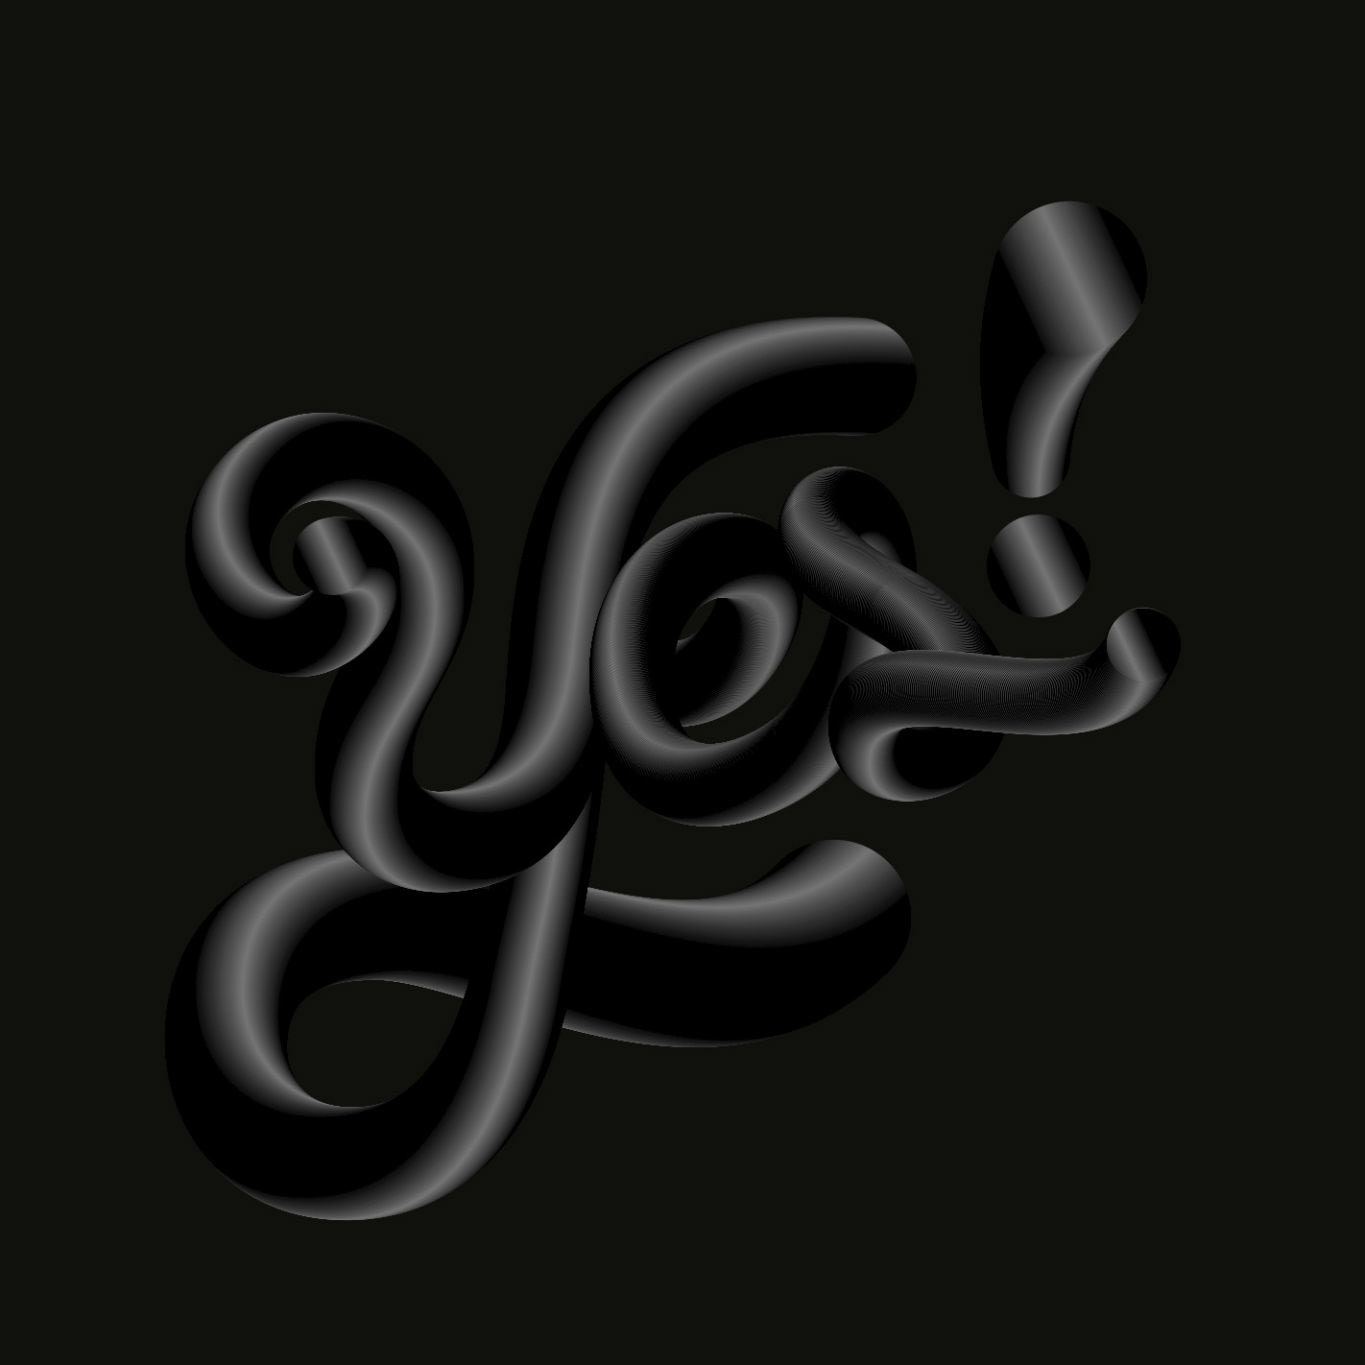
Blend Options > Specified Steps set to ‘200’.
Blend Options > Specified Steps set to ‘1000’.
Wanna play too?
Yes? ☺︎ Awesome! Here are the only 4 steps you need to follow to create your own 3D blend lettering. It's super easy and quick, but you can also spend some more time experimenting with your own creativity, the possibilities are endless. Whatever you do, have fun and enjoy the process! Ready? Go!
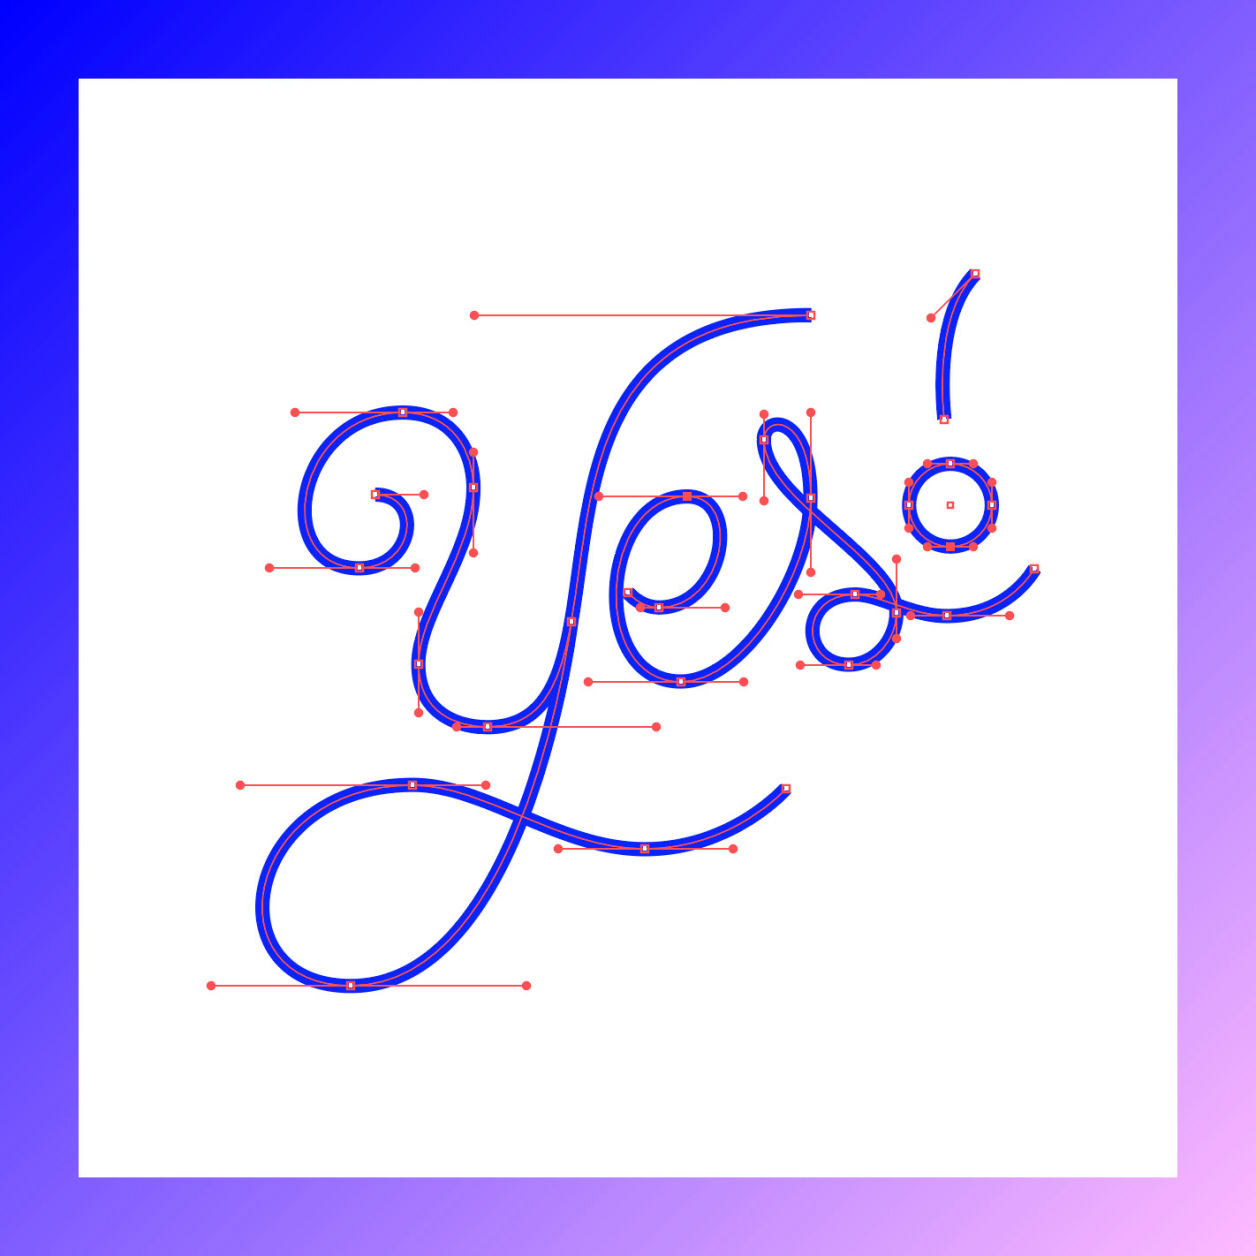
Step 1: Create a vectored monoline text. Use the Pen Tool (P) to make it as a Stroke path.
Step 2: With the Elipse Tool (L), create a circle and fill it with a 2 or 3-colour linear gradient. Open the Gradient tab (Window > Gradient) and change the colours to your liking. Make the gradient angle at a -45º or experiment till you are happy with the result.
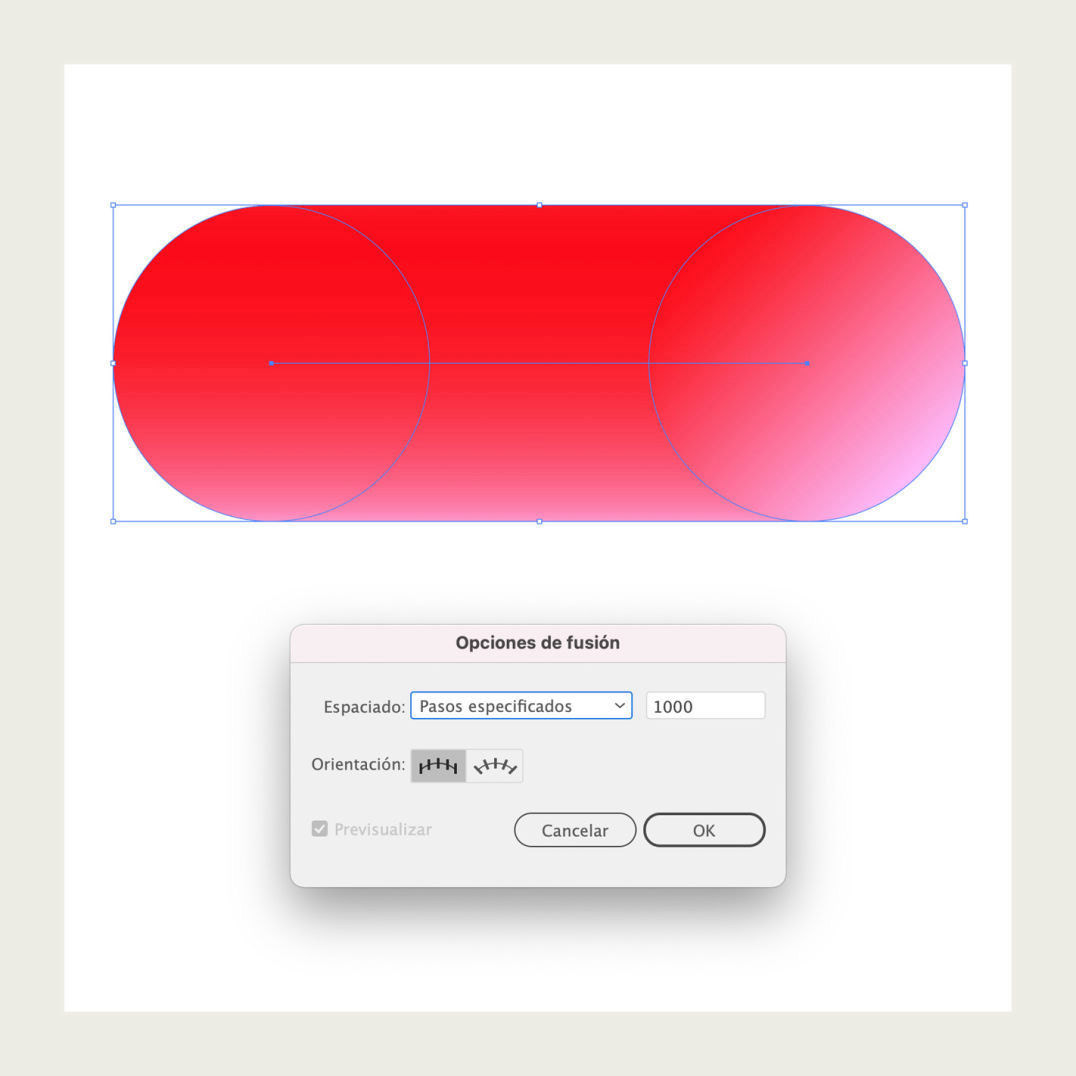
Step 3: Create the 3D look! Duplicate the circle you just created. Go to Object > Blend > Blend Options, change the Spacing to Specified Steps. I set it to ‘1000’ for a very smooth transition, or 200 for a playful effect. Select all the circles and go to Object > Blend > Make. You will see that Illustrator creates a new object with the Blend.
Step 4: Select the new object and your outline letter (hold Shift to select both of them). Now go to Object > Blend > Replace Spine.
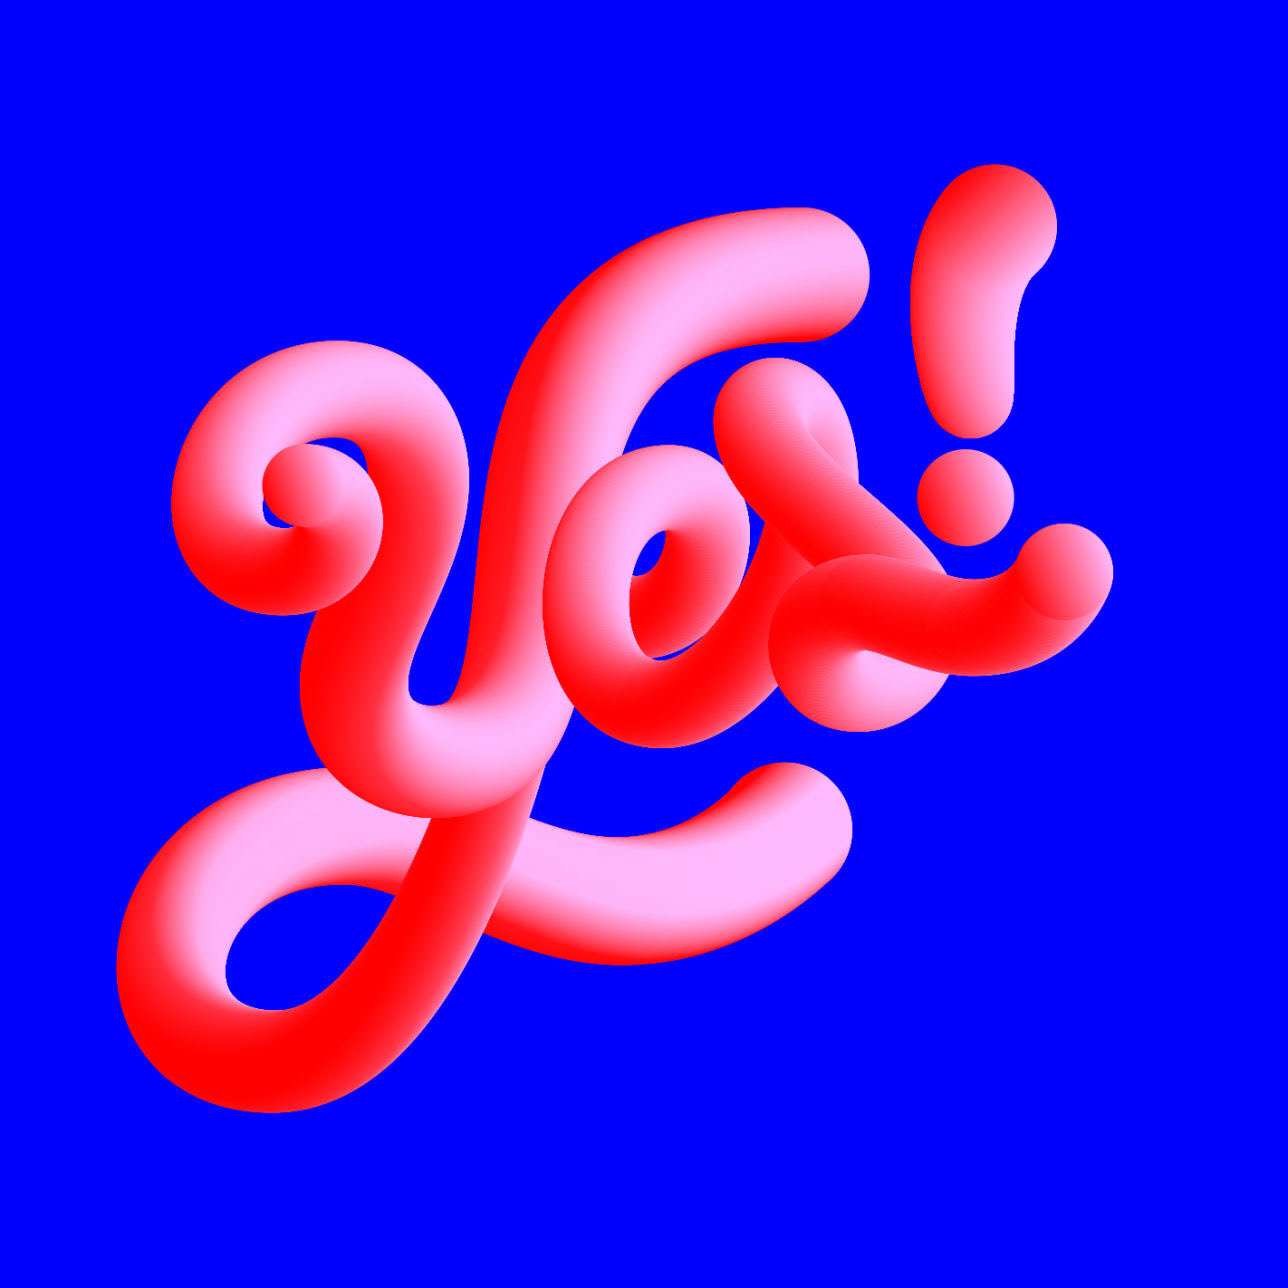
Ta-da!: You have your final 3D looking lettering!
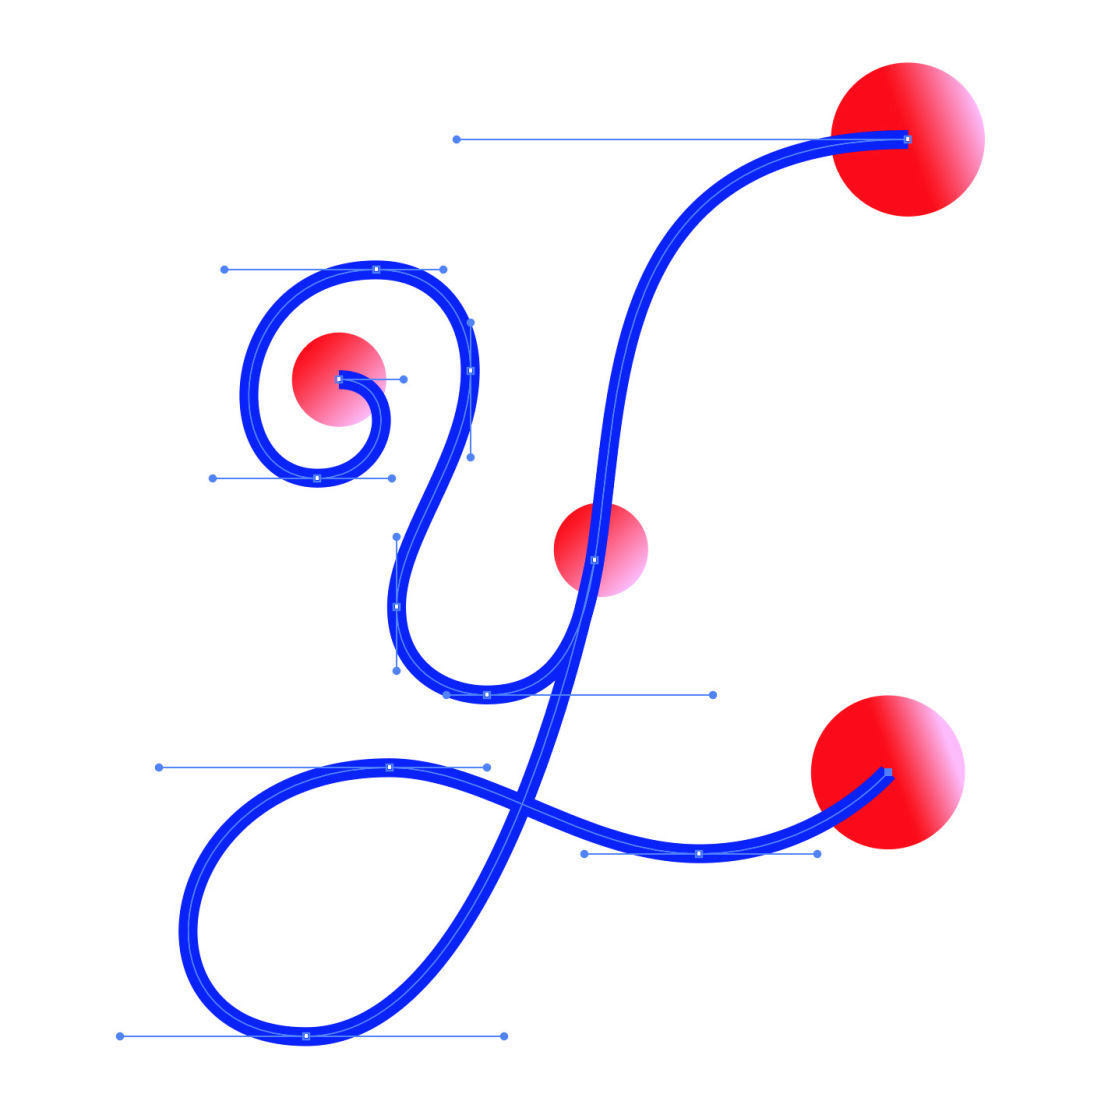
Experiment and have fun: Alternatively, you can play with the size of the circles combining mixed sizes. To change that, take the Direct Selection Tool (A), select each circle individually and adjust their size using the Properties panel (Window > Properties). The possibilities are endless, you just have to play around and experiment to create whatever you like.

And if you have made all the way till here, thank you so much for hanging in there with me, and congrats! ⭐︎ Because there are even more close-ups of some other experiments I'm happy with the result and love to share with you